PHOTOSHOP MOCKUP GUIDE
How to Use PSD Mockups in Adobe Photoshop
A simple, step-by-step guide to help you get the most out of your Linnest Creative PSD mockups. Learn how to use the Smart Object layers to easily add your own designs and create beautiful, realistic results in minutes.
THE PROCESS AT A GLANCE
Open your mockup
Open the Smart Object layer
Add your design
Save and close
See your design in the mockup
Step-by-step tutorial
Follow these simple steps to add your own design to a PSD mockup.
Open Your Mockup File
01
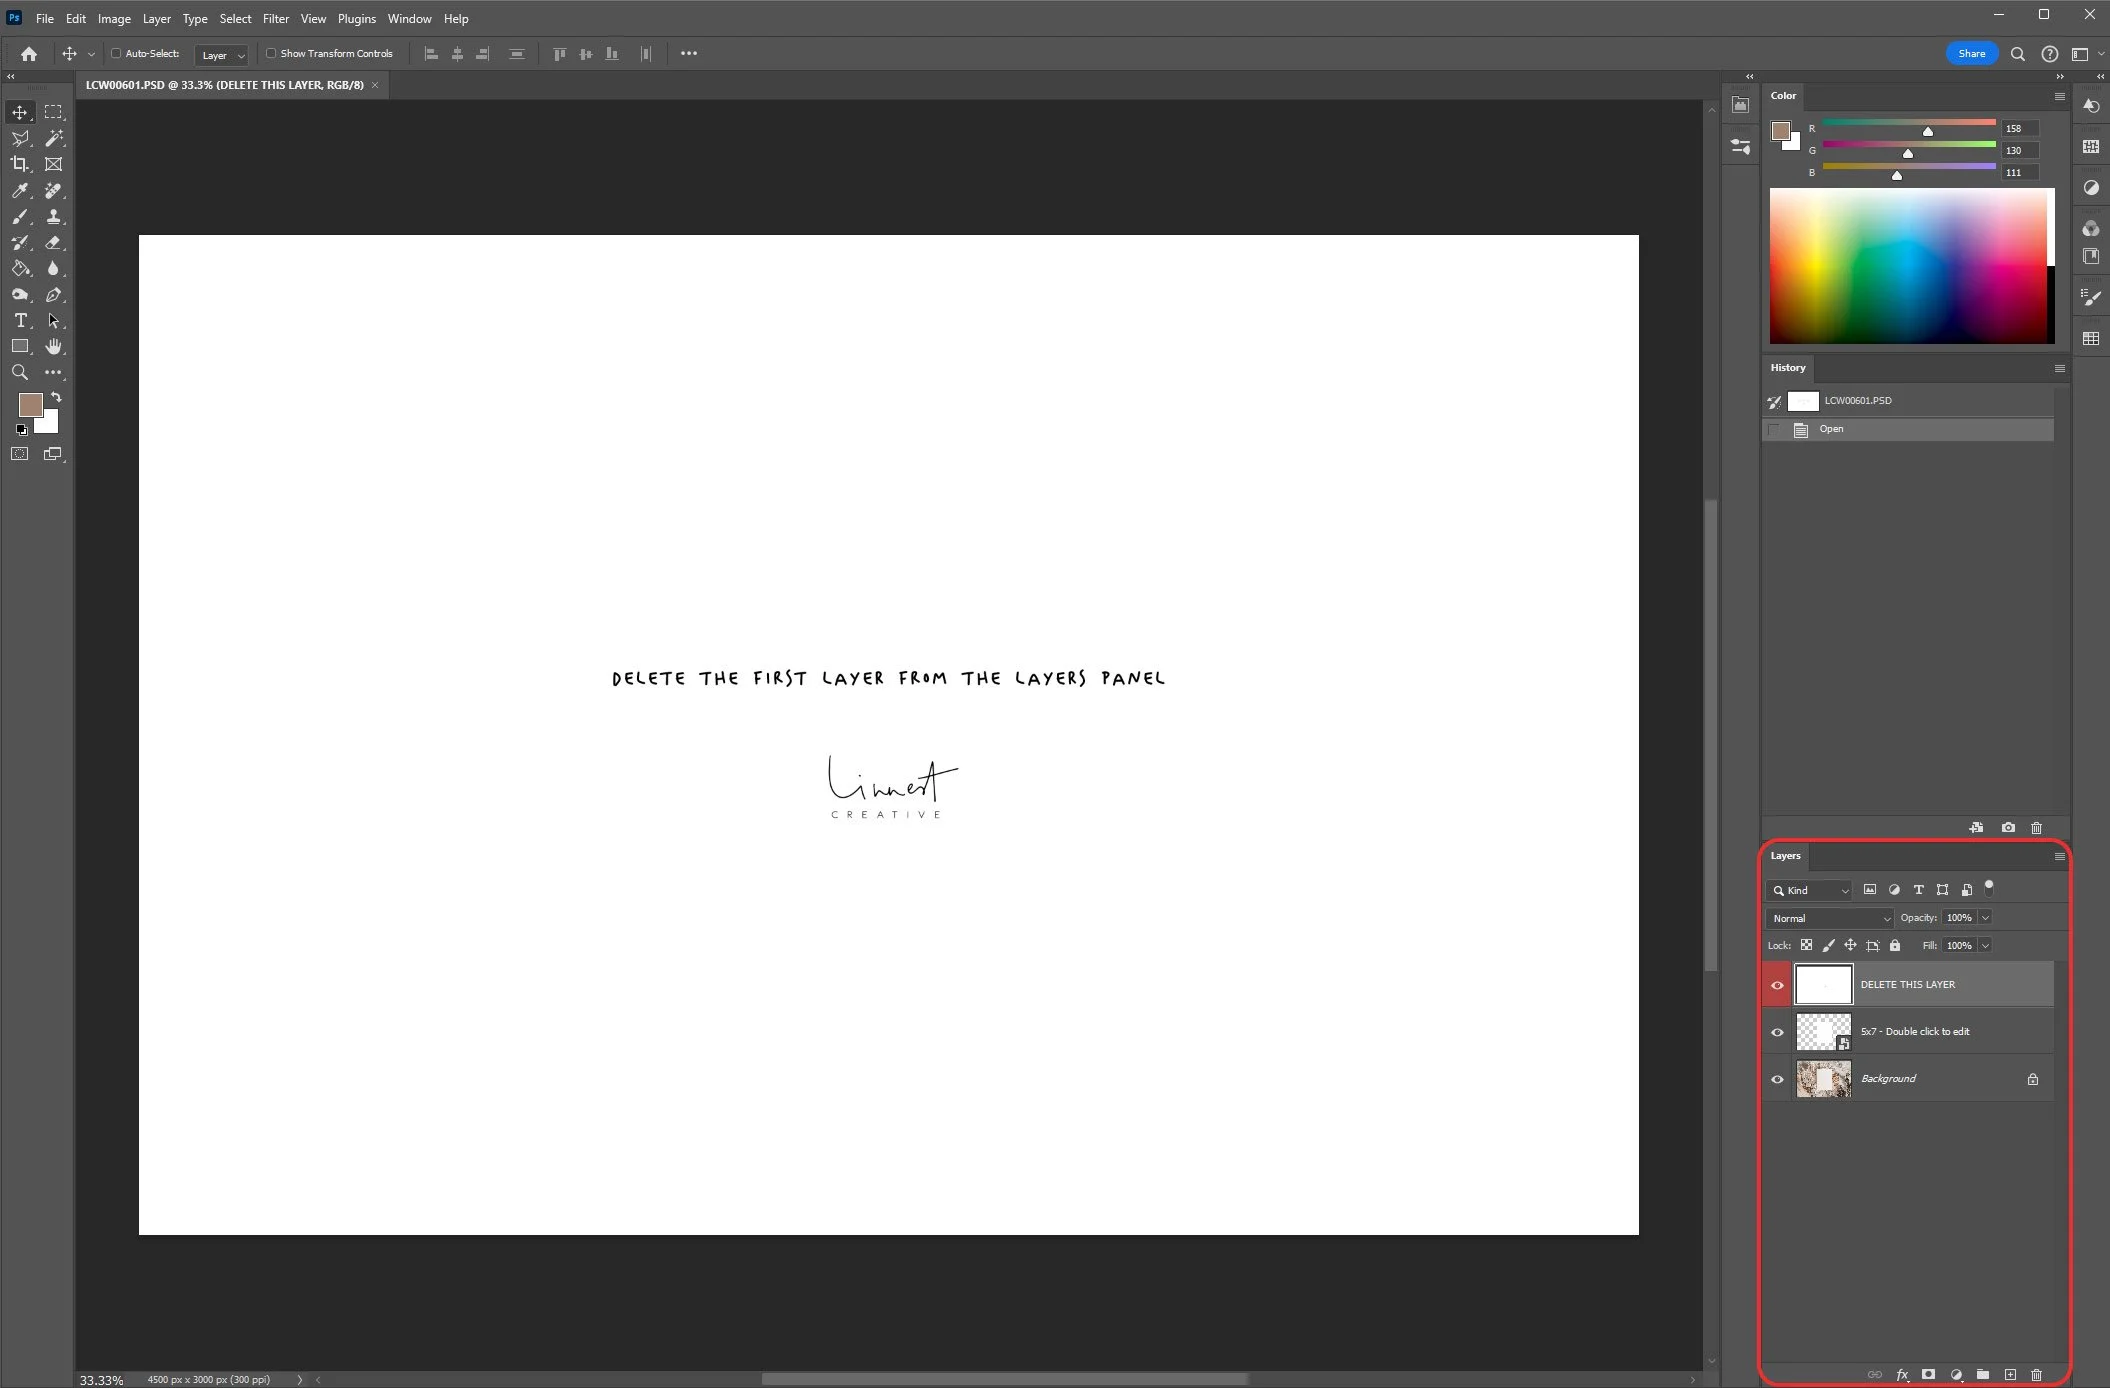
Locate the PSD file you downloaded and open it in Adobe Photoshop. The file will be neatly organized with clearly named layers, including one or more Smart Object layers for your design.
Located on the right side of the screen, the Layers Panel is where you’ll find the various layers that make up your PSD mockup. Each layer represents a different element of the design, allowing for easy editing and customization.
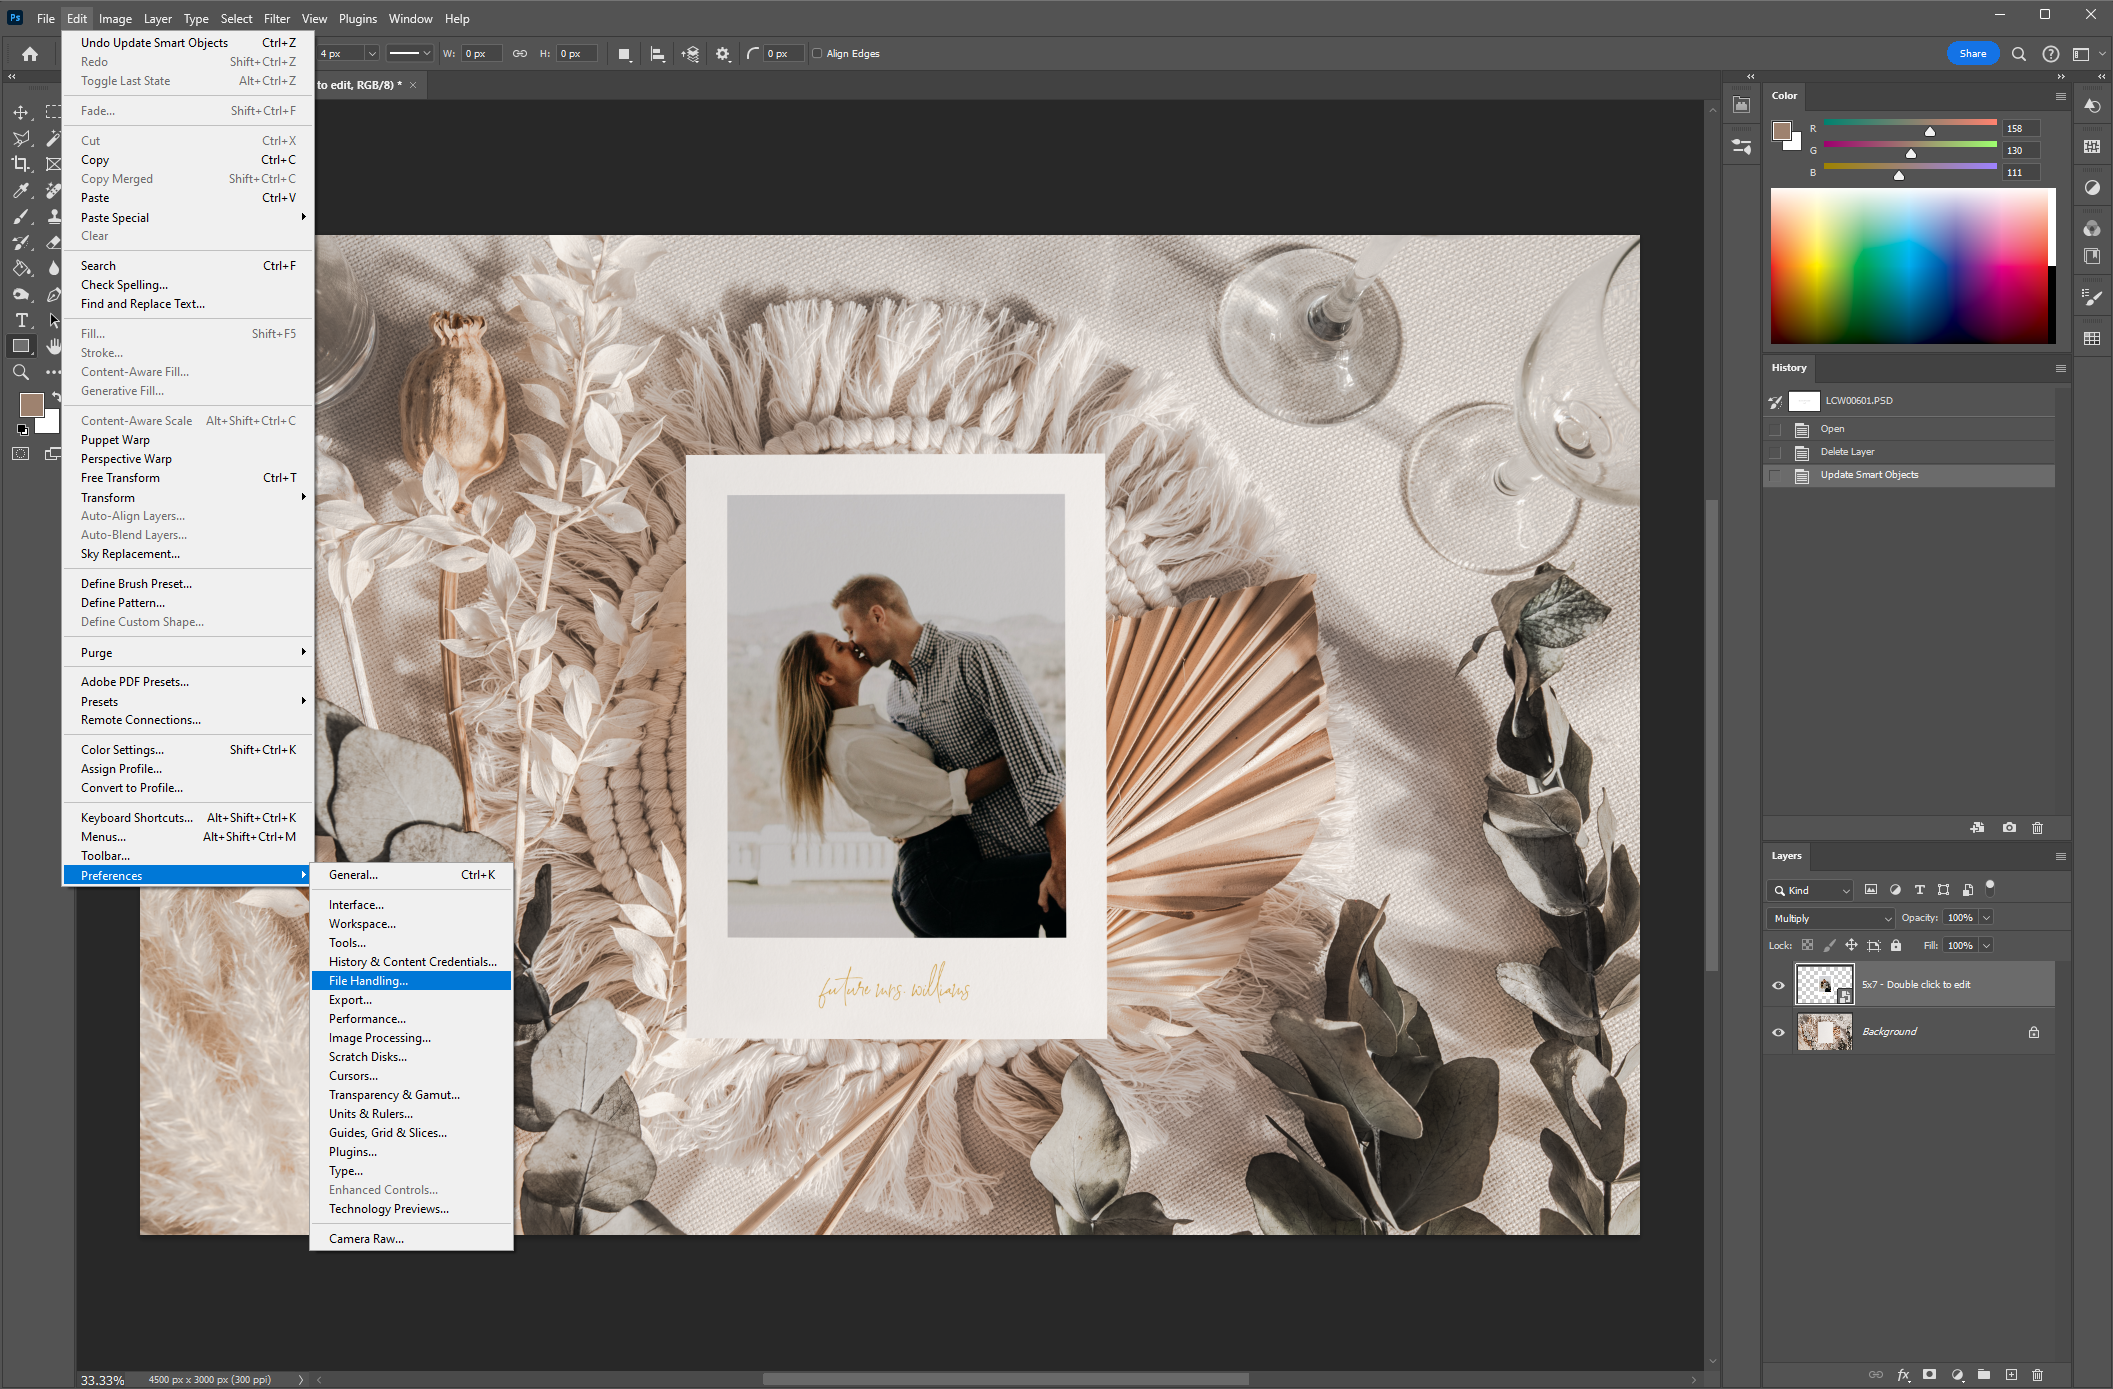
If you don’t see the Layers Panel in your workspace, you can access it by going to the top menu and selecting Window > Layers. This will open the Layers Panel and make it accessible for your editing convenience.
Familiarize Yourself with Layers
02
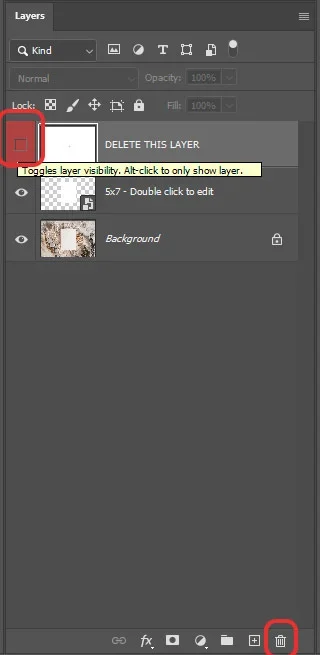
The purpose of the white layer is to make the file size smaller.
You can delete that layer or simply hide it by clicking on the little eye icon in front of the layer.
Using a Blank White Layer to Reduce File Size
03